Adventures in self-levelling concrete
With the primer dry, the next step was to get rid of the dip once and for all…..and the best method for dealing with uneven spots that require a smooth finish has to be self-levelling concrete. For anyone who isn’t familiar, SLC is a polymer modified non-sanded concrete that is simply mixed up in a pail and poured on the low spots. Being thin, the concrete tends to try and find it’s own level (hence the name), and dries to a rock solid and smooth surface.
OK: The key to a successful application over a wooden subfloor is making sure the concrete sticks. This begins by making sure the subfloor is well screwed down to the joists and there is no movement, and then priming the wood.
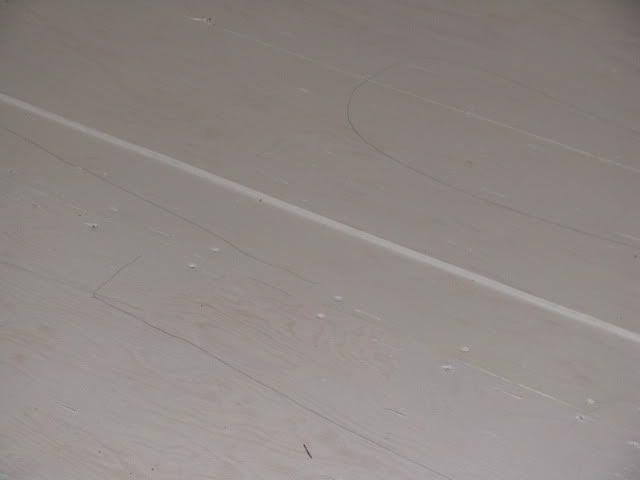
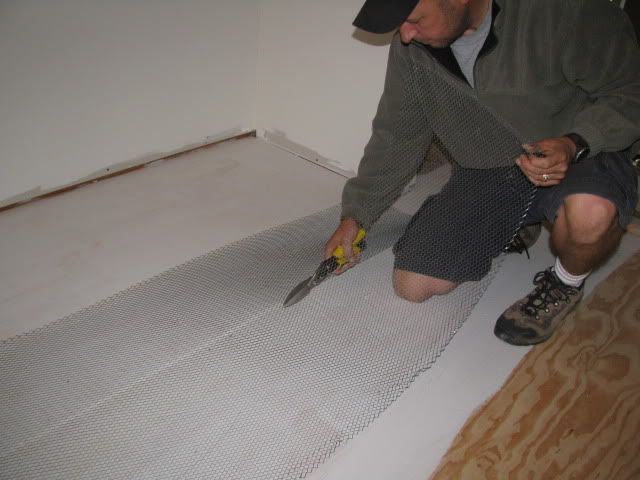
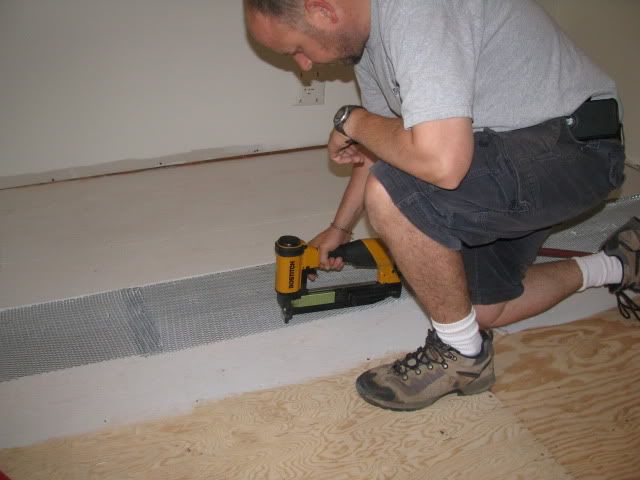
The next step is to staple down expanded metal lath where the concrete is going to be applied any thicker than ¼” or so.
I began by measuring and cutting the mesh and then stapling it down to the floor, overlapping any seams.
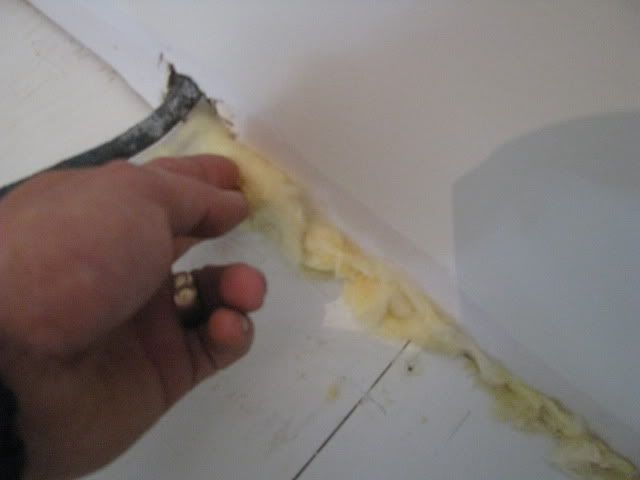
The next step in your prep is to take steps to make sure the concrete only goes where you want it.
I took a minute to stuff any gaps or openings around the perimeter of the wall with fiberglass insulation.

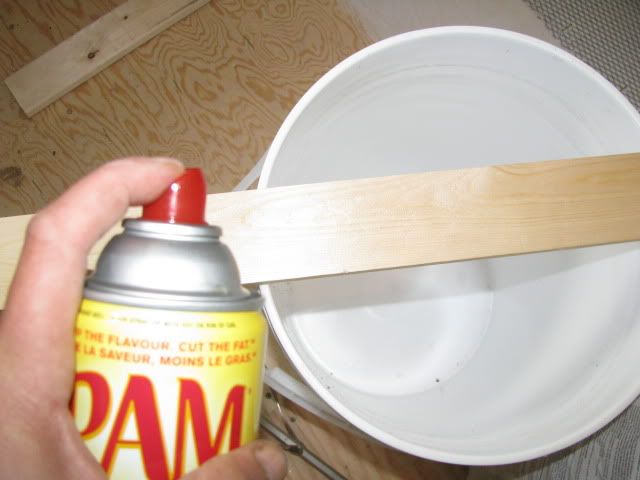
And finally, I needed to build a wooden “dam” where the kitchen floor met the hallway. You can use just about any wood to make a dam (I used 1X2), but make sure you use a release agent on the wood before pouring as this concrete sticks REALLY well…to just about everything.
So I coated the dam with my expensive, high-tech, specialized release agent.
And started to prep the concrete.

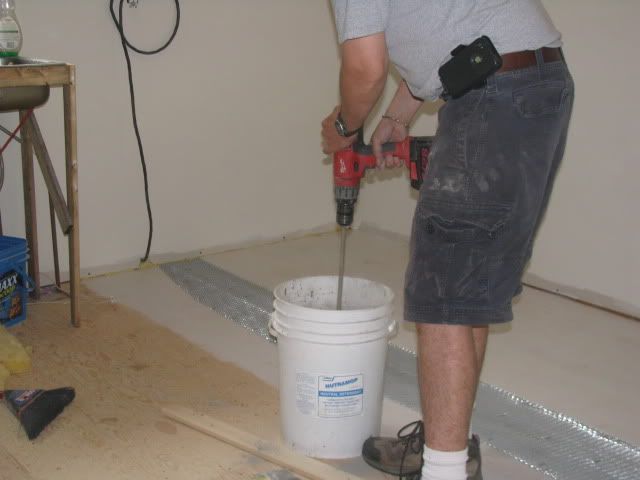
Tools and materials: Clean 20l pail, corded or high voltage cordless drill (the Milwaukee shown is a 28V powerhouse), a mixing attachment (about 10.00 at the hardware store), a straight edge, a trowel, and of course; the self-levelling concrete.
First the water is measured and put in the pail, and then the concrete is added TO the water (never vice-versa).
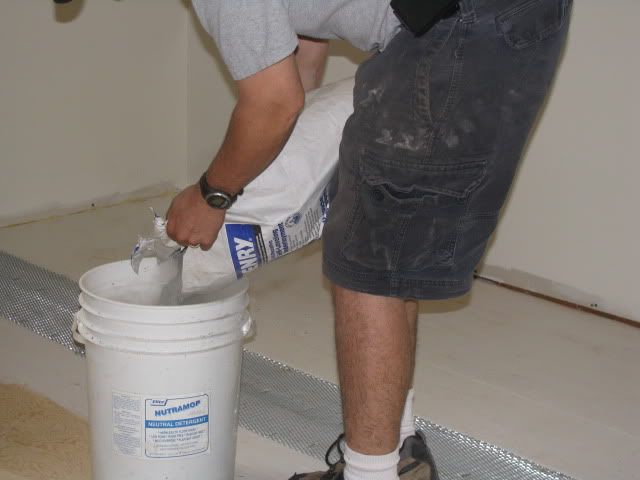
And mix it up.
Finally it’s just poured onto the lowest spots adding more concrete as required.
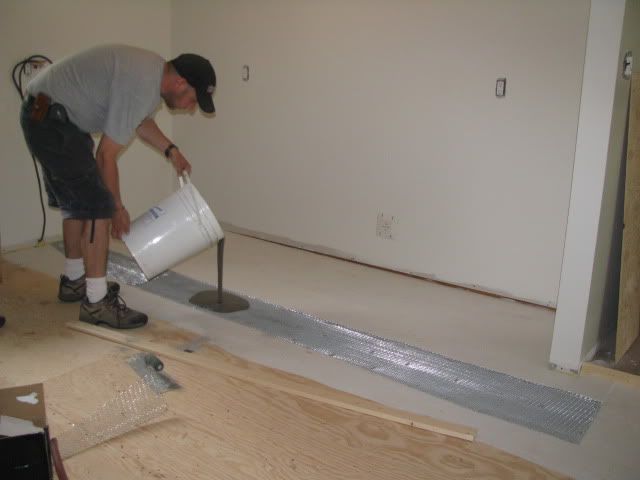
Now, even though these products claim to be self levelling, in my experience they benefit hugely from a little bit of help. For my job I used two bags of concrete, and a long aluminum straight edge to draw across the pour making it all level out.
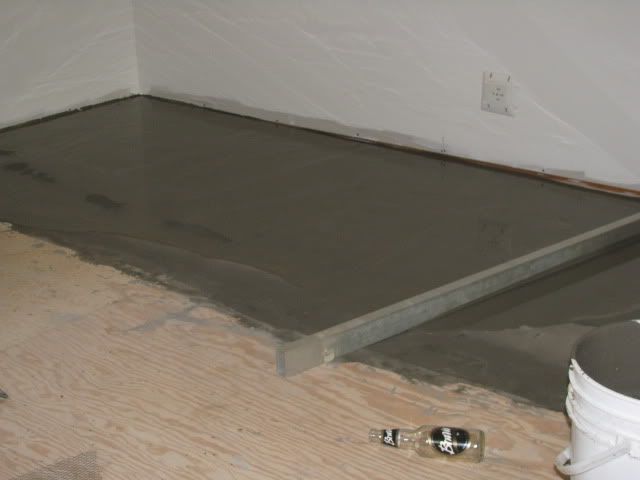
My “dam” at work

And finally, you’ll want to feather out any edges with your trowel to ensure a smooth transition between the wood and concrete.

OK, that wraps up another entry. Tomorrow we are going to look at the kitchen floor….the brand new, wet area approved (gasp!) laminate from Armstrong flooring.
Thanks for looking
Ryan