The install
The floor is down, and the boxes (and boxes…and boxes) of cabinets have all been opened and the cabinet’s locations labeled on them with masking tape…so it’s time to put them up.
You always want to start with the wall cabinets so you can get them up without working around the base cabinets. The first step is to find and mark a level line around the perimeter of the kitchen….and by far the easiest way to do this is with a laser level. The one problem with laser levels is that they tend to be A: Exceedingly expensive or B: Only moderately accurate. This Tek-4 laser level from Ryobi however? It’s neither.
I mounted the laser on an old camera tripod and set it to the correct height.
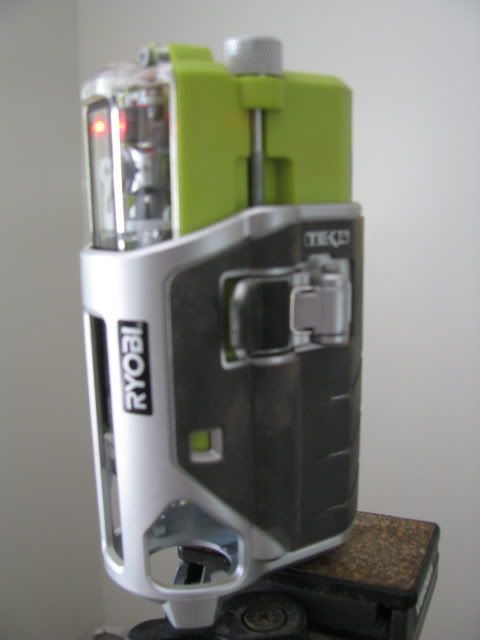
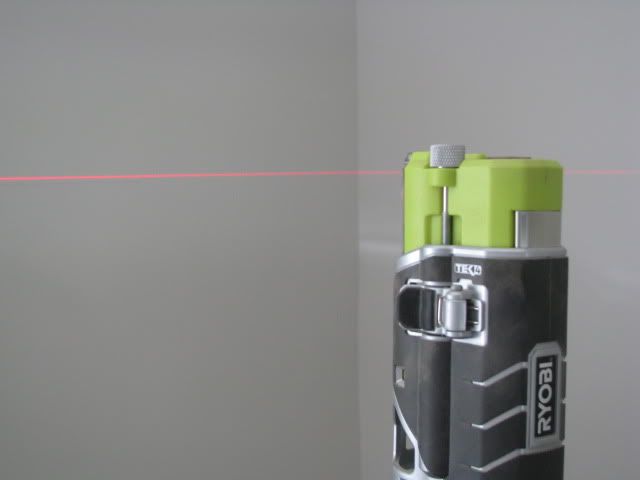
I then went around the kitchen and marked the level line on the wall with pencil.
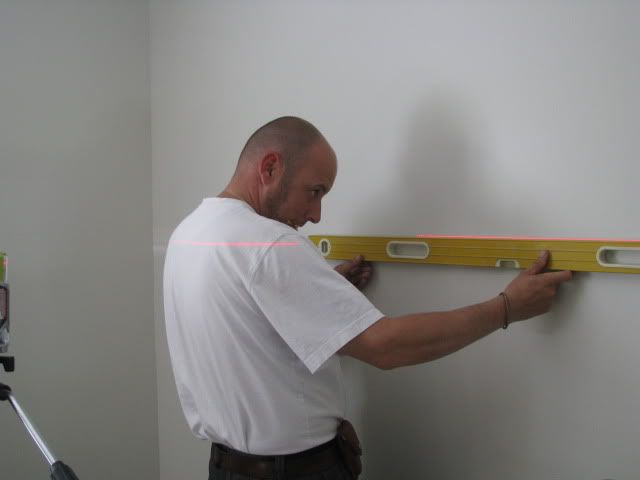
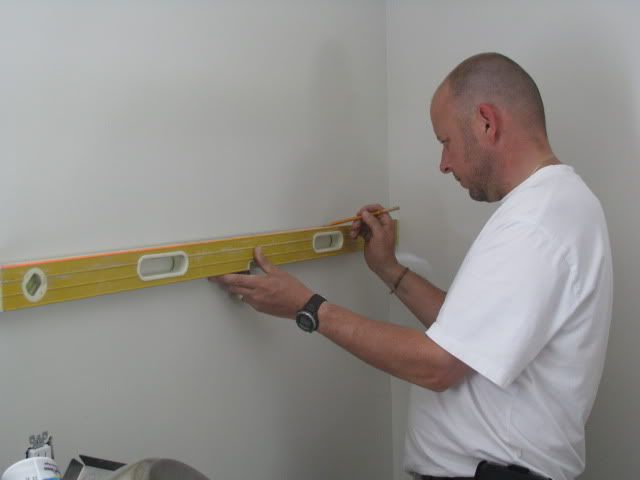
The next step is to mark all the stud locations, as that’s where we want to attach the cabinets. Trust me, dishes can get heavy…and the last thing you want to have happen is your cabinets falling off of the wall because drywall anchors won’t hold. A stud finder and a pencil make quick work of the task.
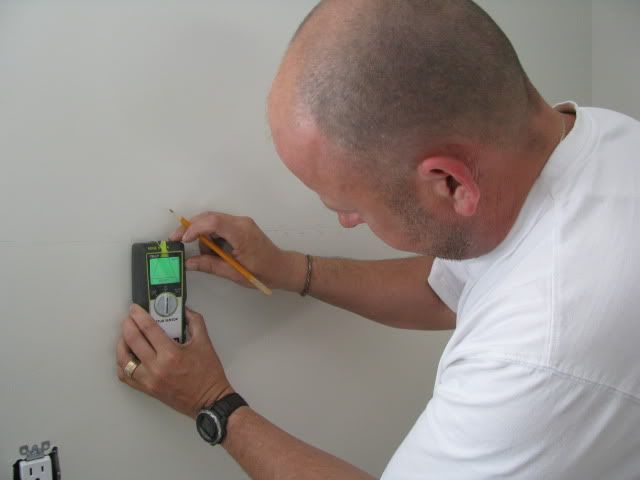
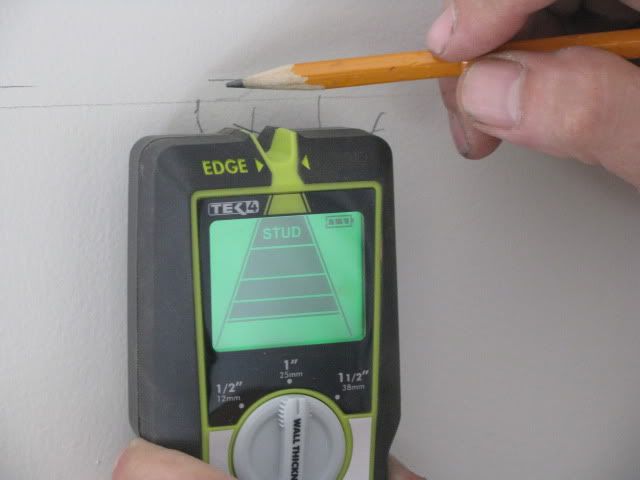
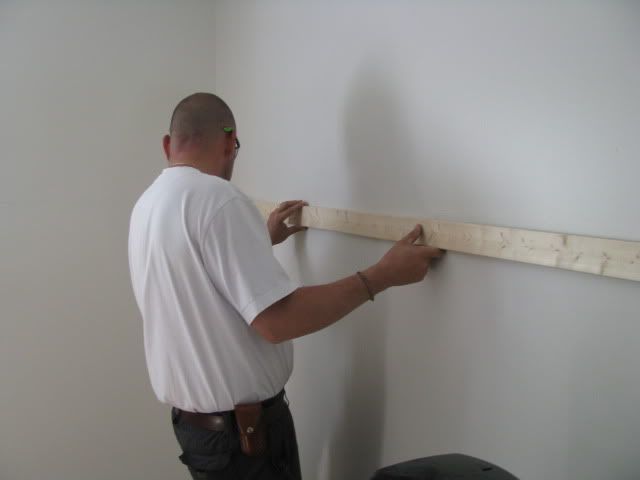
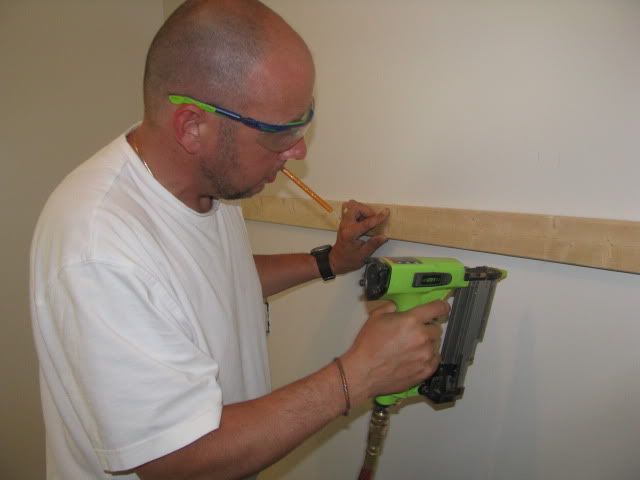
Now because I am working alone, I needed to install a wall cleat for the cabinets to sit on as I installed them. The cleats take most of the weight and hold everything level while screwing the cabinets to the wall. I used straight 1X strapping and pin nailed it in place, driving a couple of 23 gauge pins per stud. The pins were strong enough to take the weight of a cabinet, and the tiny holes left after the cleat is removed are easily filled with paint….no wall repairs required.
Now that the prep is done, it was time to put some cabinets up on the walls. The first step is to take the measurements of the stud locations off of the walls and transfer them to the inside of the cabinets, marking where to pre-drill some holes (holes are drilled about ¾” from the inside top and bottom of the cabinet, which pretty much centers the holes in the mounting cleats.
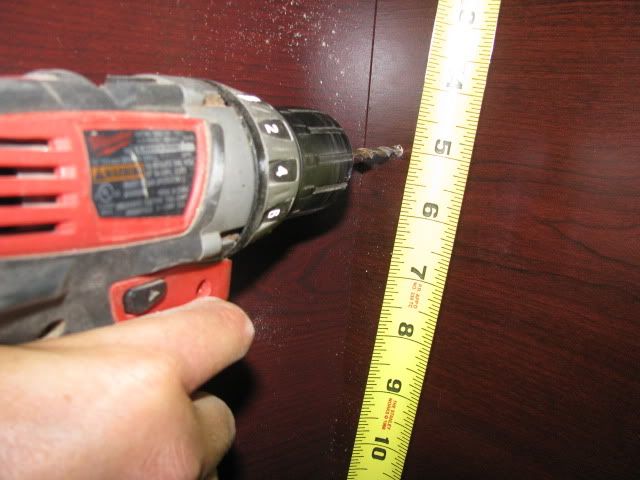
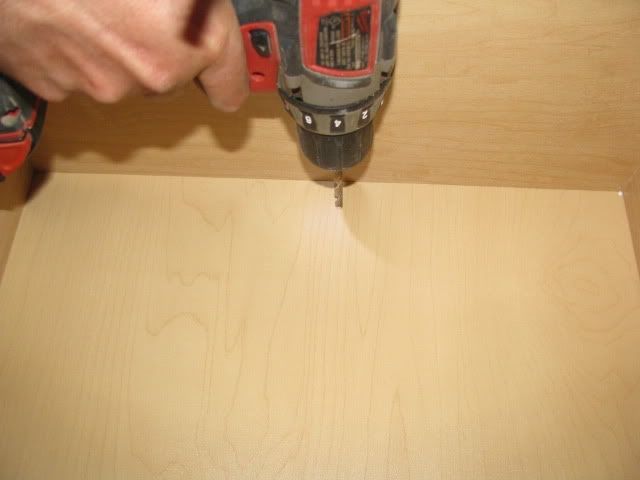 Then the included screws are removed from the back of the cabinet where they are stapled.
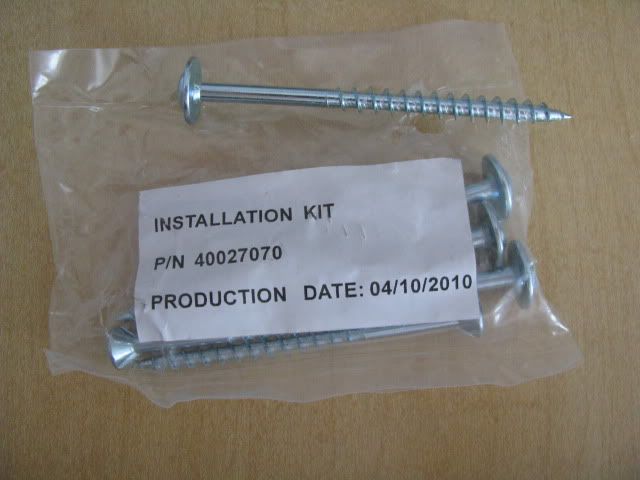
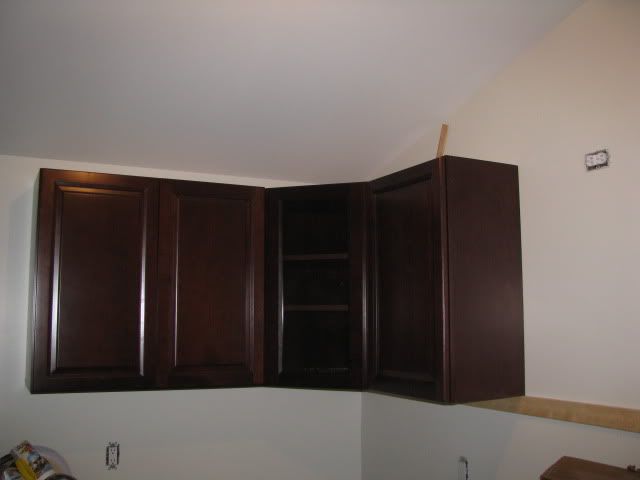
The doors are removed from the cabinets to make things lighter (one screw per hinge) and they are lifted into position on the rail and the screws driven through the holes and into the studs.
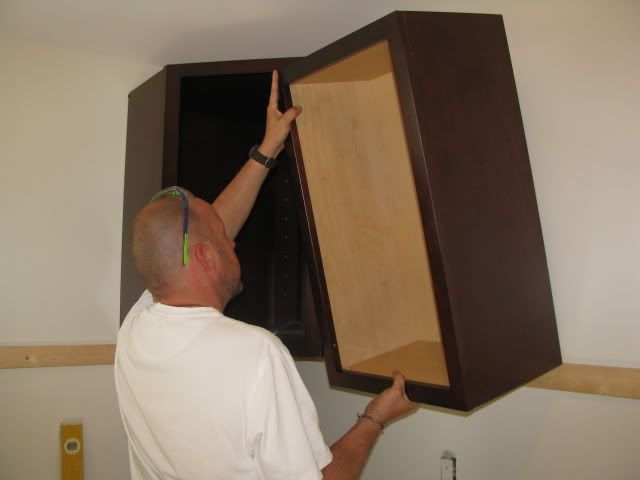
Finally, the adjoining cabinets are clamped together, and a hole is drilled and countersunk at the top and bottom of the stiles and the two cabinets are screwed together with the included screws. Continue around the kitchen until all of the uppers are in place.
Next entry we are going to take a look at our new Frigidaire Professional series appliances, installing base cabinets, and a couple of tricks you can use to make your stand alone fridge look like a built-in.
Thanks for stopping by!
Ryan
To leave a comment, please log in


No comments