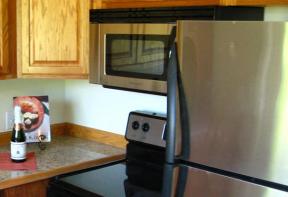
DIY range hood/microwave combo
Do-install-yourself: Save labour costs by installing your new appliances
Suck up the smells of dinner, then heat up the leftovers later–all using the same appliance. An over-the-range microwave is a space- and money-saving option, freeing up your counter space and allowing you to buy one item instead of two. Measure your opening before you buy a unit. Most microwave/range hoods are built to fit a 30″-wide space, but you can buy filler kits if your opening is wider.
Before you begin any appliance installation, take out all the items in the box and become familiar with their size, shape and quantity.

1. The appliance should come with a template that takes the guesswork out of where to drill holes. Carefully tape the template in place and check that any holes you drill won’t interfere with the ductwork. Drill the required holes through the cabinet bottom using the bit size required for the included hardware.
 2. Install the aluminum mounting frame below the cabinet. You need to anchor into at least one 2×4 wall stud or two 2×3 wall studs.
 3. Find a helper and carefully lift the appliance into place. Be sure to feed the electrical wire through the previously drilled hole as you go. The unit should attach easily and securely to the mounting plate.
 4. Drive the final screws through the predrilled holes and into the top of the microwave. Then plug the unit into the electrical socket.
Jump to a section
- Page 1 : Step-by-step
- Page 2 : Check the range
To leave a comment, please log in


No comments